Hariyali Chicken Tikka Skewers, is a twist on my mom’s Hariyali Chicken Curry. Marinaded in an herby, creamy cilantro sauce and then pan fried on a hot cast iron or non stick skillet. The result, juicy, tender kababs that you will want to make on repeat! These skewers are a great addition to your Ramadan table or as an appetizer for your next dinner party.
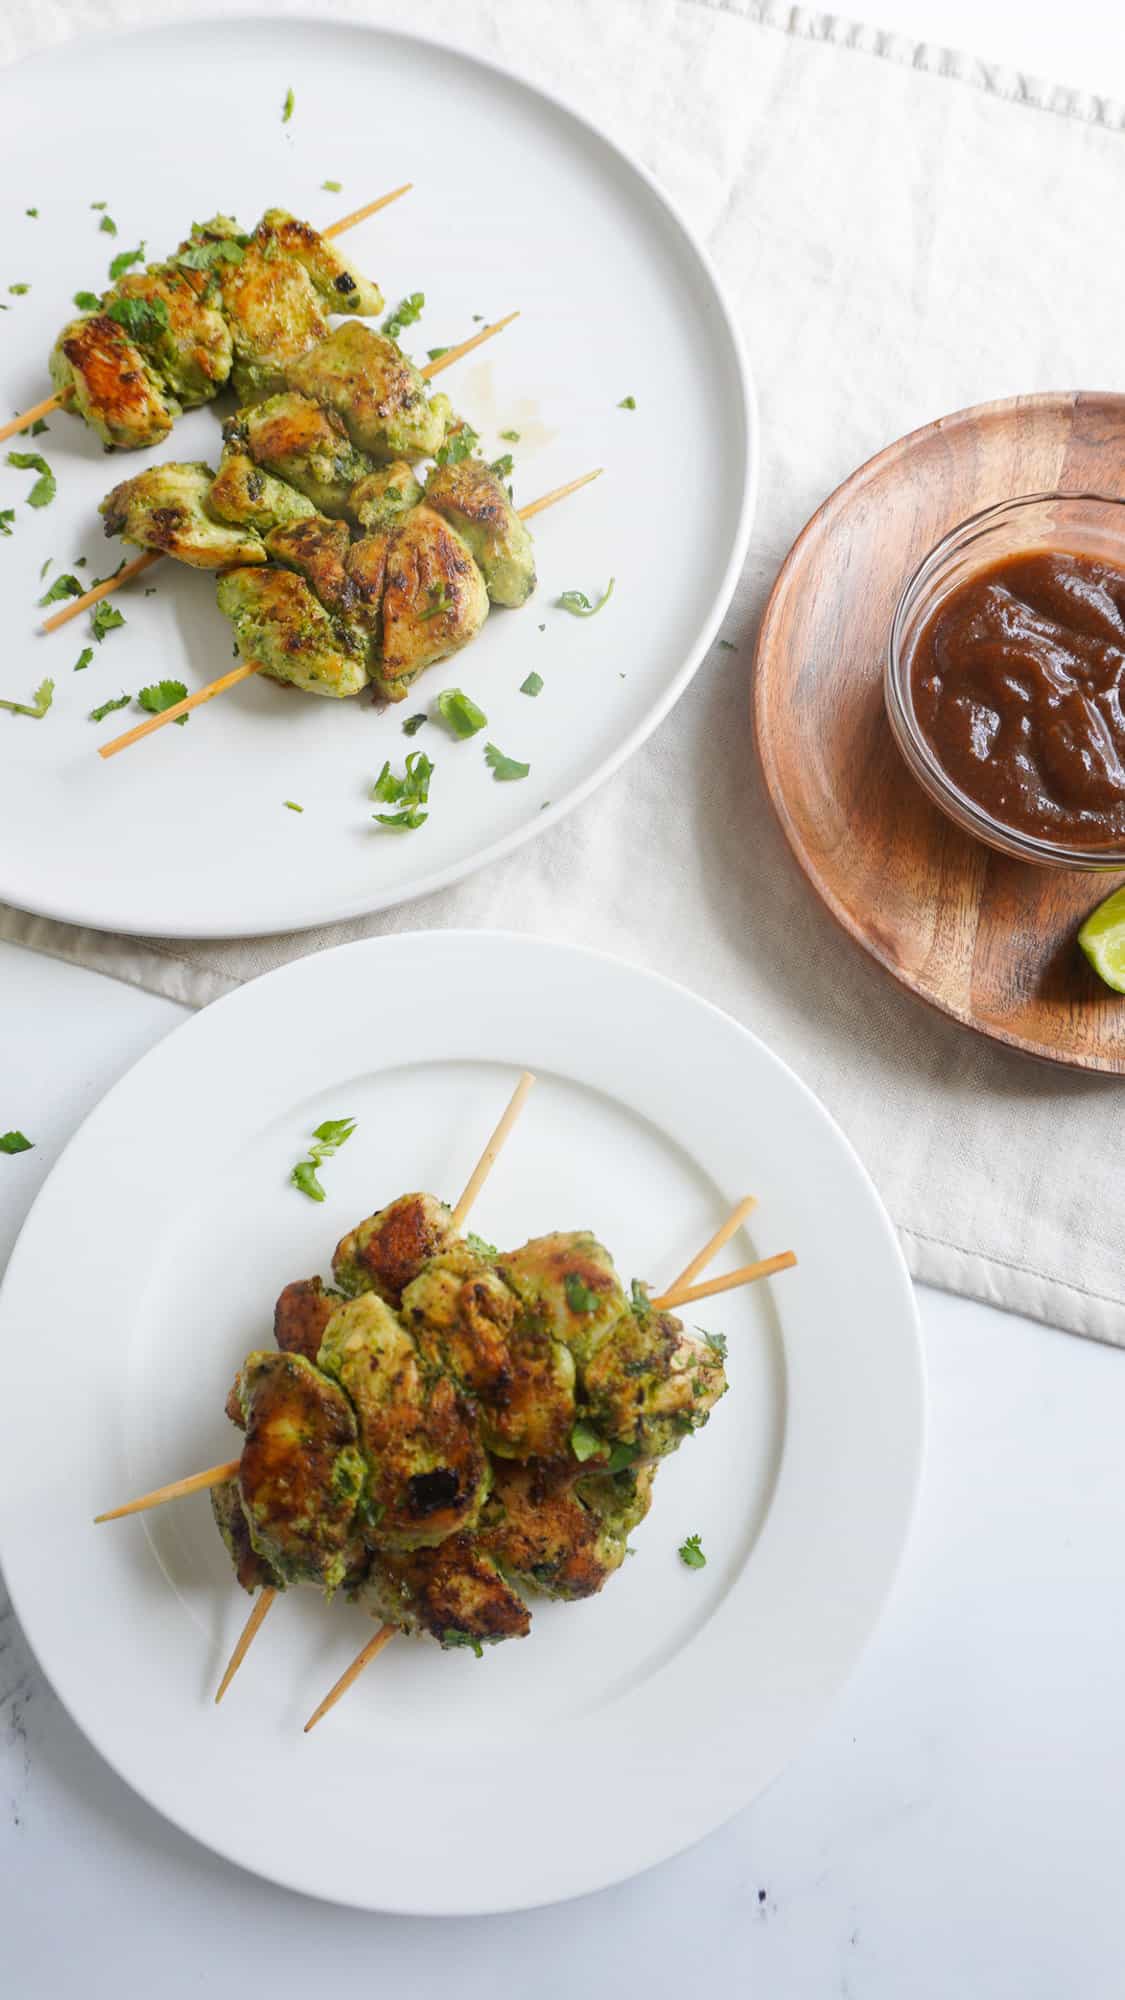
What is hariyali chicken tikkas made of?
Hariyali means greenery in urdu. So hara basically means green. Hariyal thus refers to the greens in the recipe. Cilantro, green chili pepper and, in some recipes on the internet, mint as well. I however, don’t add mint to mine because well, that’s how I grew up eating this dish.
- Cilantro. Stems and leaves.
- Green chili pepper. You can use any that you have available to you but adjust according to level of heat you like. Serrano pepper is a good medium heat pepper to use. You can use Thai pepper for a spicier curry or Jalapeno for a milder one.
- Yogurt. I have used regular and desi store bought yogurt with similar results. Desi yogurt has more of a tang to it.
- Ginger and Garlic.
- Cumin powder.
- Salt.
- Water. To help get the masala moving in the blender.
- Lemon juice. Tenderizes and gives the meat flavor.
- Chicken. You can use tenders or thighs for this recipe. I find chicken breast to be too dry for this recipe but you can use if you prefer that cut.
- Oil/butter. To baste the tikkas.
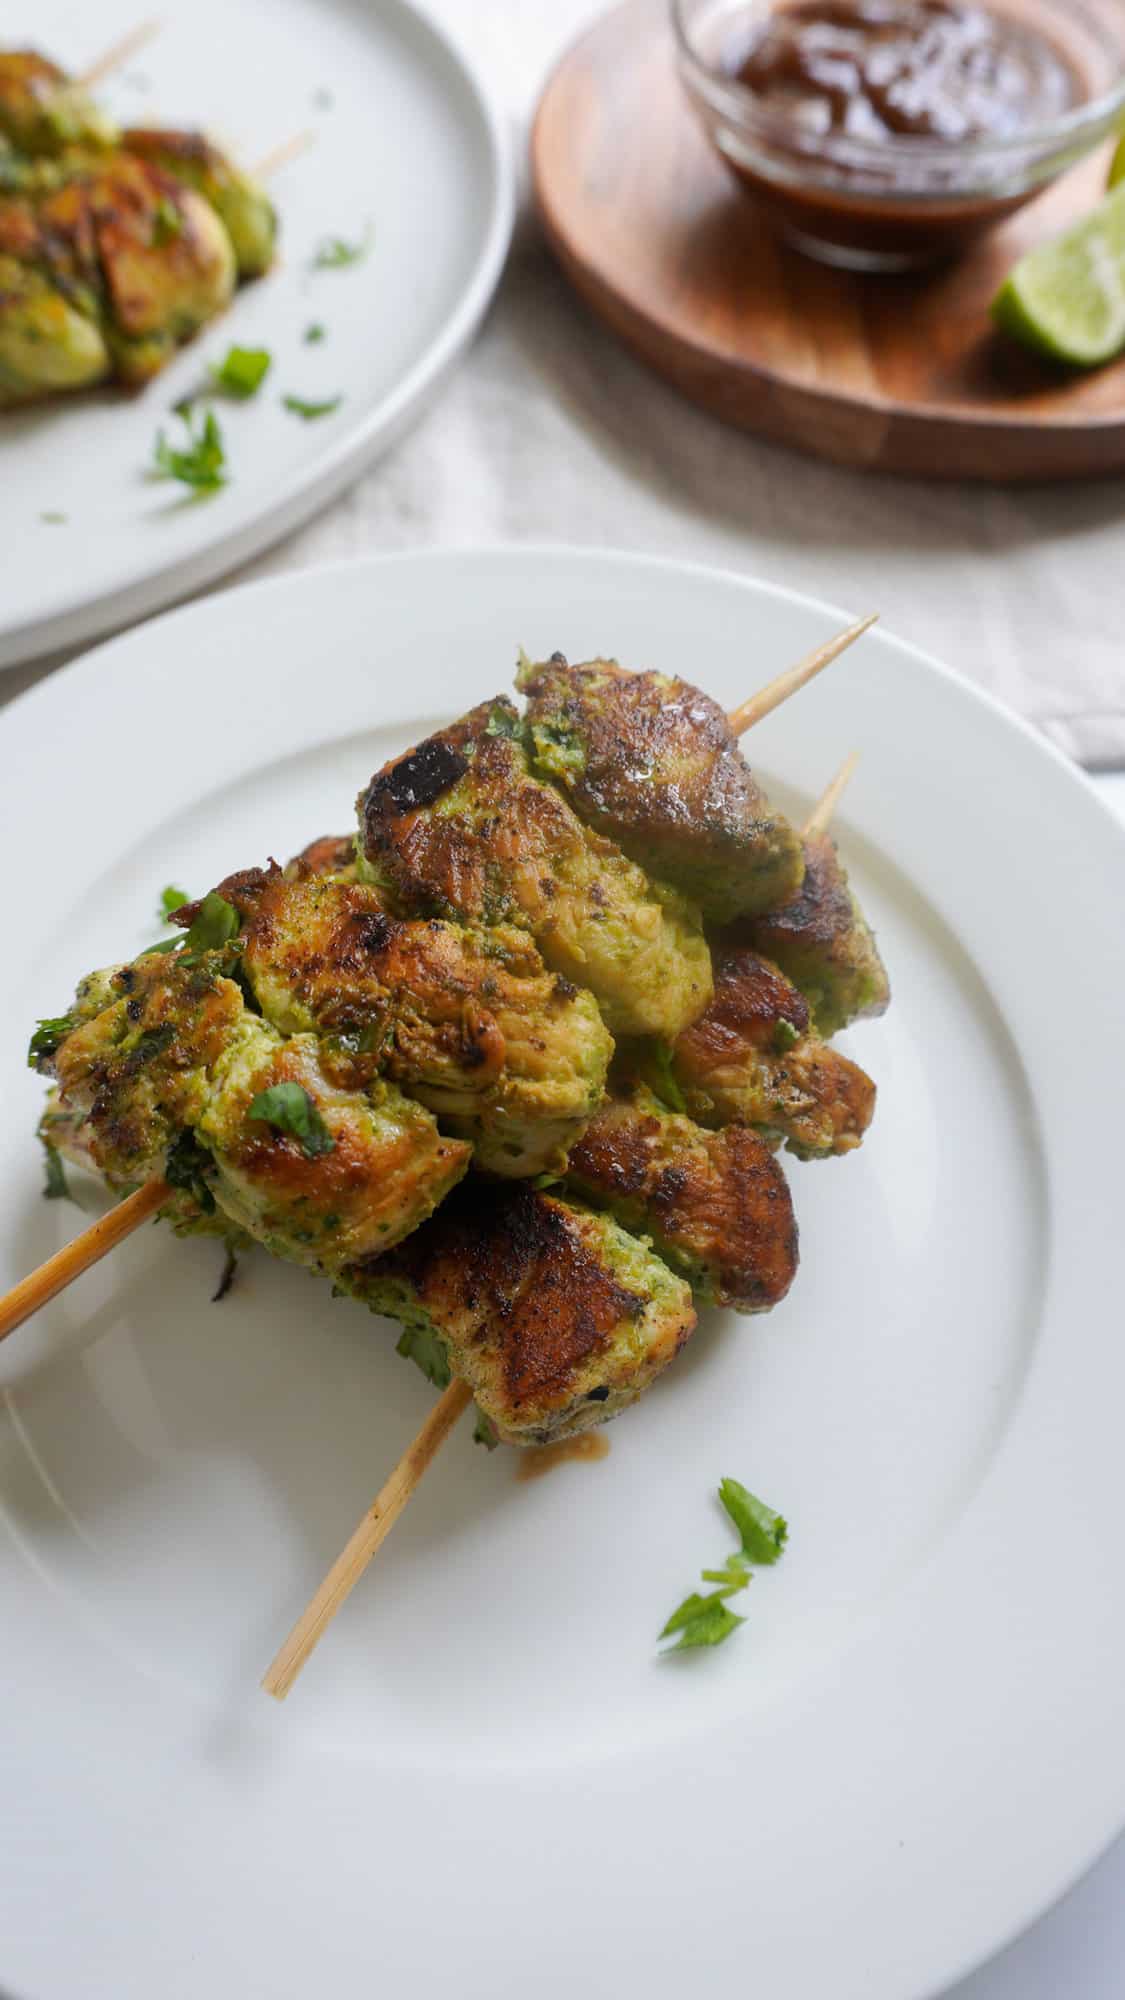
How to make hariyali chicken skewers
Step 1
Make the marinade – Blend the cilantro, green chili, ginger, garlic, yogurt, cumin powder, salt, lemon juice and a tablespoon of water (to get things moving in the blender) together and marinate the chicken in it. Preferably overnight or at least 30 minutes.
Marination is key for juicy kababs especially if you are using chicken breast or tenders. If you don’t have time to marinate then use boneless, skinless chicken thighs since it’s a juicier cut of meat.
Step 2
Thread the chicken onto the skewers – If you are using bamboo skewers, soak them for at least 30 minutes so that they do not burn over an open flame. Thread the chicken pieces close together so as to retain moisture in the chicken. When I use small skewers, 4 pieces of chicken fill up the stick with space left on the top and ends.
Step 3
Grill – Heat up a cast iron pan till it gets searing hot. You can use a non stick pan as well but I feel that cast iron gives a nice sear to the meat. And who can beat the good old outdoor grill? If you have one, use it!
If using a cast iron pan, brush the pan with a little oil and place 4-6 skewers on it. Brush the tops of the chicken with more oil and let cook uncovered for 4 – 5 minutes. Flip and cook an additional 4 minutes. Once cooked through plate and enjoy with grilled vegetables and Tamarind / imli ki chutney.
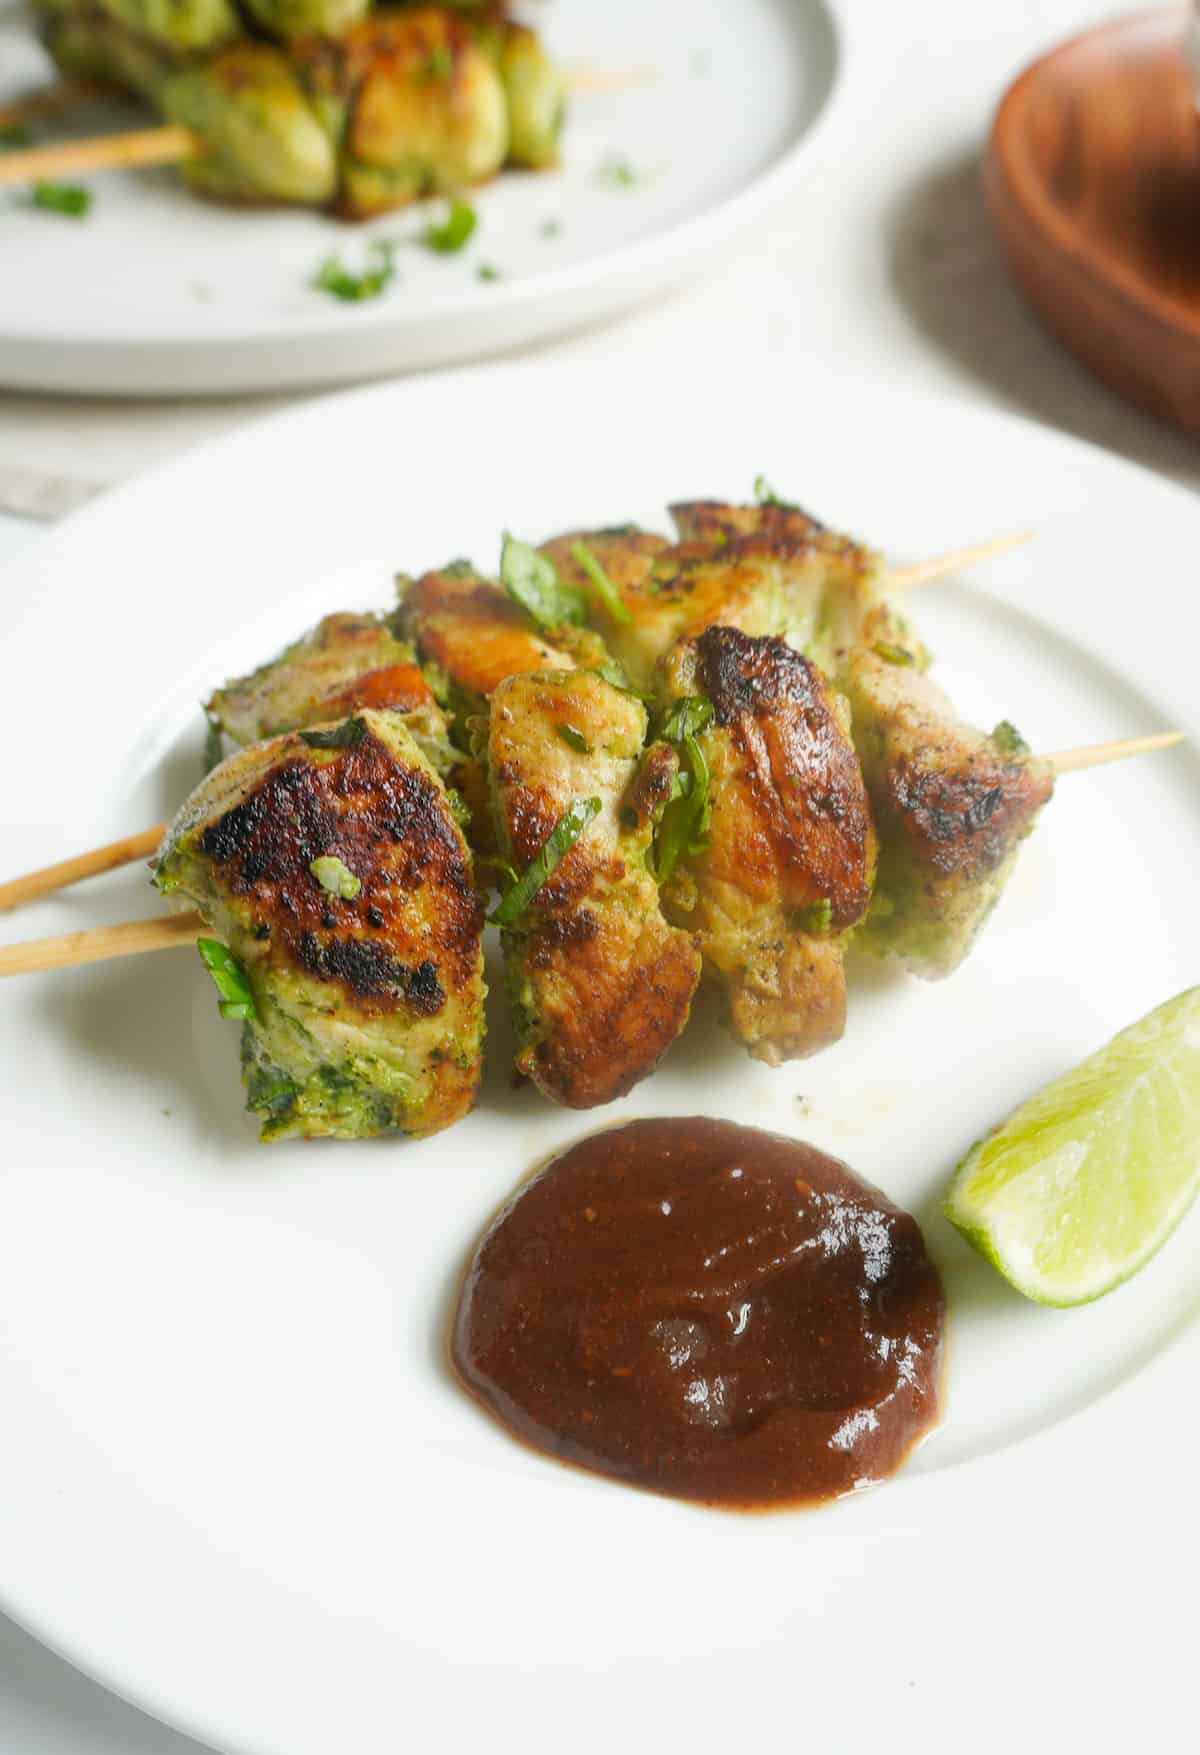
What to serve with these hariyali chicken tikkas
- I like to keep it low carb so I usually serve them with onion rings and vegetables. You can grill some vegetables on skewers right along with the chicken. Think tomatoes, onions, bell peppers, zucchini.
- Serve with either tamarind chutney or spicy mayo as condiment.
- Make kabab rolls with almond flour tortillas.
- If you want to make it a meal you can serve these skewers with daal and cauliflower or white rice.
Variations
- Make the tikkas on stove top without skewers. You can use bone in chicken thigh quarters.
- Marinade shrimps, fish or lamb in this green masala and grill, pan fry or bake.
- Use leftovers for chicken quesadillas.
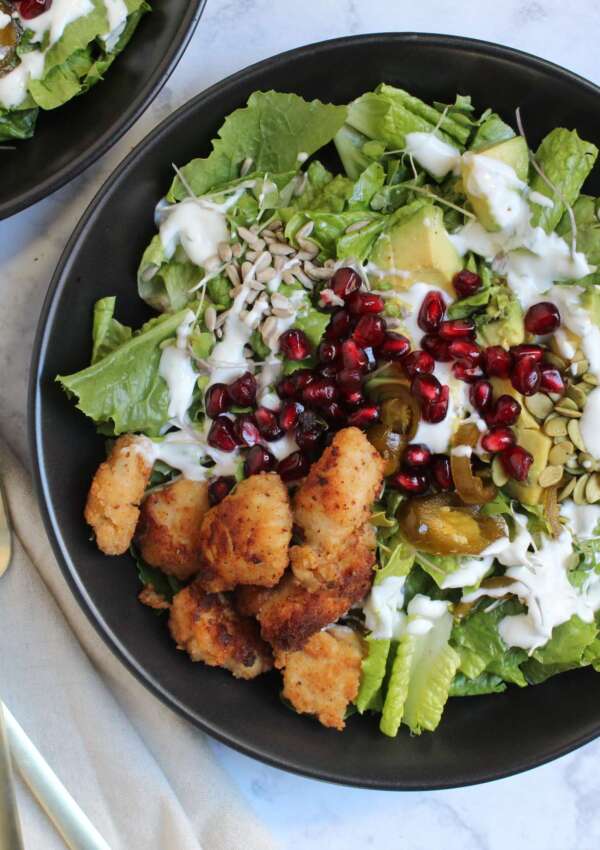
- Use the leftover chicken for topping your favorite salad.
Storage tips
Refrigerate: You can store these skewers in an air tight container in the fridge for up to 3 days.
Freeze: To freeze these hariyali chicken tikka skewers, let them come to room temperature no more than 2 hours and then simply put 4-6 skewers (such as the bamboo skewers pictured above) per quart sized freezer bag and seal it well. Freeze in a single layer in the freezer for up to 3 months.
Alternatively, you can also remove the chicken from the skewers and freeze those separately.
Some more chicken curry recipes to try
If you make this recipe, don’t forget to rate it! And let me know in the comments how it worked out for you. If you are on social media, share your pics with me on Instagram by tagging me @eatdrinkpure so I can see and repost it on my stories!
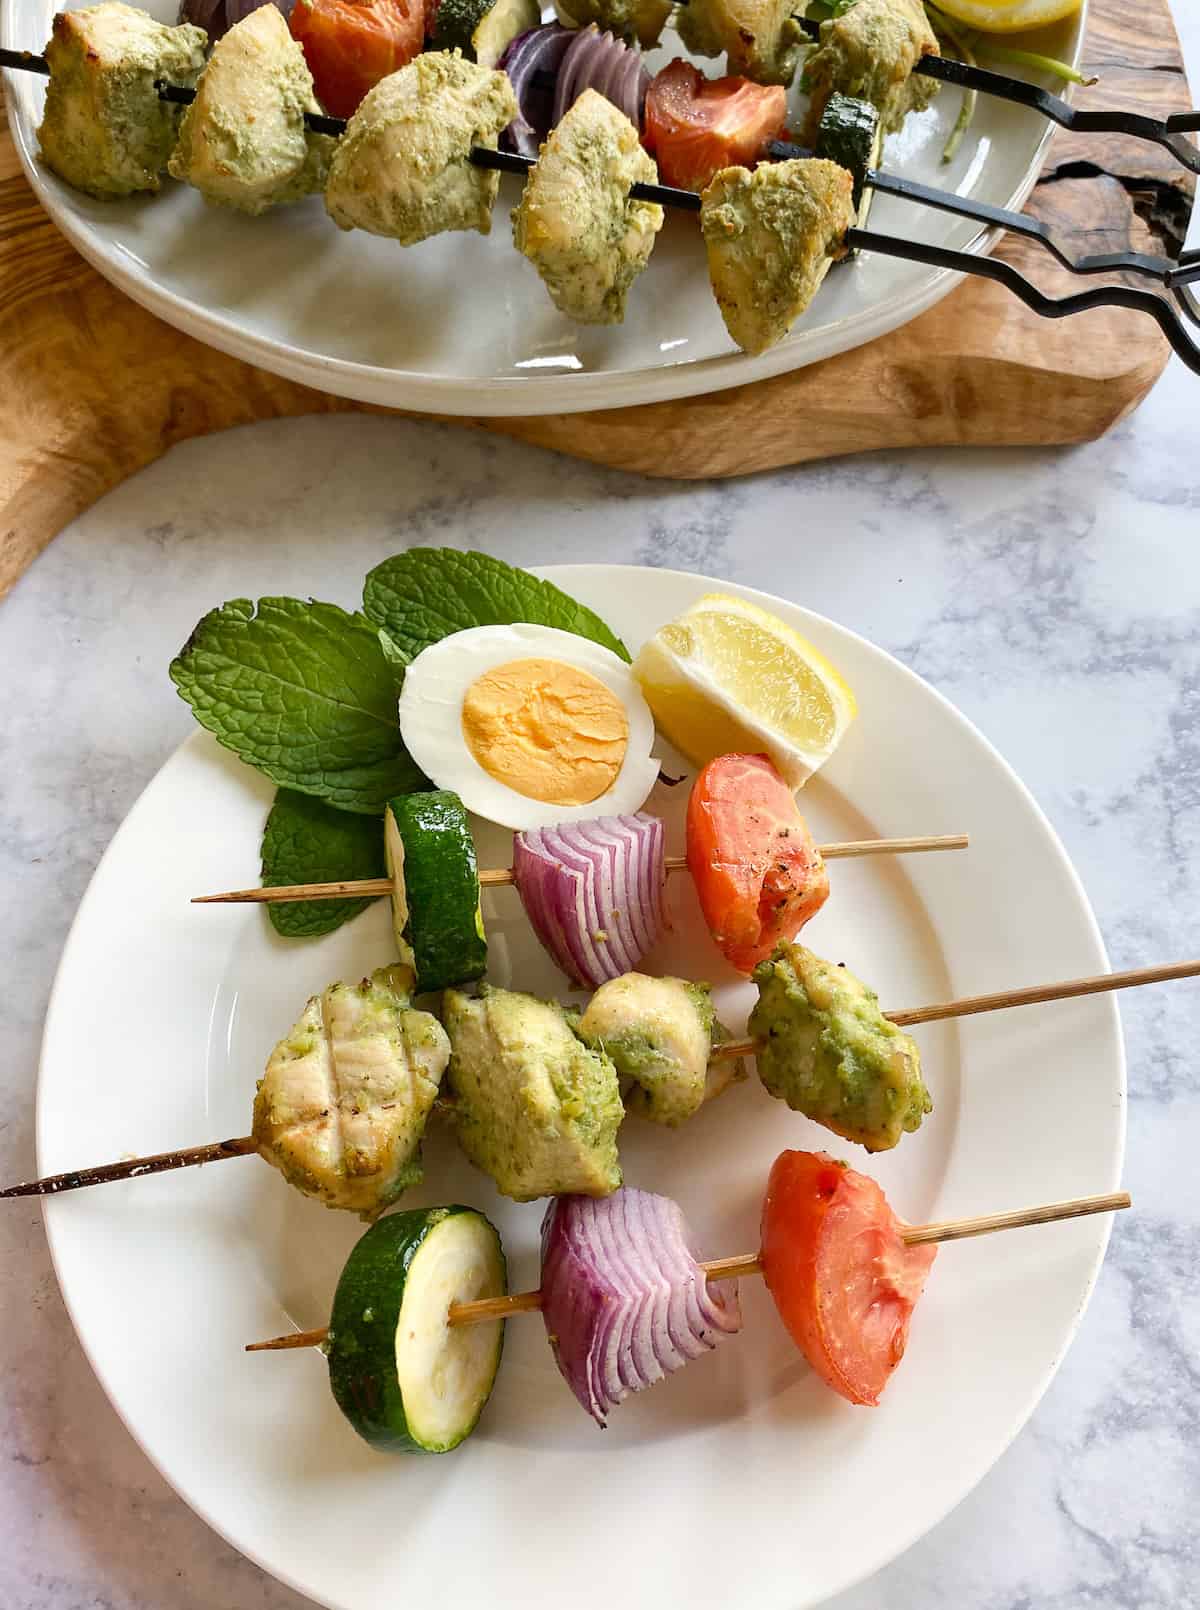

Hara Masala Chicken Skewers
Ingredients
- 1 cup cilantro packed
- 2 green chilies I use Serrano
- 1 inch knob ginger
- 4 small garlic cloves minced (or use 2 teaspoons minced garlic)
- 2 tablespoons yogurt I use Greek yogurt
- 1 teaspoon cumin powder
- 1 1/2 teaspoons salt or to taste
- 2 tablespoons lemon/lime juice
- 1 tablespoon water optional
- 2 pounds chicken tenders cut into 2 inch pieces
- Oil/ butter to baste chicken
Instructions
- Pre soak bamboo skewers, if using, in a shallow bowl. Delay if you are marinading the chicken overnight. When ready to cook, take the chicken out of the fridge about 15-20 minutes before you are going to cook it and soak the bamboo skewers meanwhile.
- Take all the ingredients but the chicken and oil and place in a blender. Blend till creamy. Marinate the chicken in this creamy (hara masala) sauce preferably overnight or at least 30 minutes.
- Once ready to cook, thread chicken onto skewers and make sure they are close together so as to retain moisture in the chicken. This helps keep the chicken juicy. Usually 4 pieces are enough for a small bamboo skewer.
- Heat a grill or cast iron pan on medium high heat till searing hot. Brush the pan with oil and place the chicken skewers on the skillet. Place four to six skewers on the pan at a time. Brush some oil on the top of the chicken pieces and let them cook on one side for 4 – 5 minutes.
- Flip and cook on the other side for another 4 minutes. Continue to cook all the skewers in batches. Once done, place on a platter, drizzle with some lime juice, and serve with grilled veggies and or onion rings. Tamarind chutney pairs really well with these chicken skewers.
Video
Notes
- Marinading is really important for juiciest results especially if using chicken breast.
- Add a tablespoon of water to get things moving in the blender. A high speed blender may not require it so add as you go.




Leave a Reply